Call Now (704)448-6884
Trenchless Water Line Repiping
Welcome back to Happi Plumbing Channel. Today I’d like to share an interesting plumbing case: how we used trenchless technology to repipe a water line under concrete walkways and a large tree.
Customer’s Issue
The customer had very high water bills. After an initial inspection, we confirmed there was a leak in the underground water line.
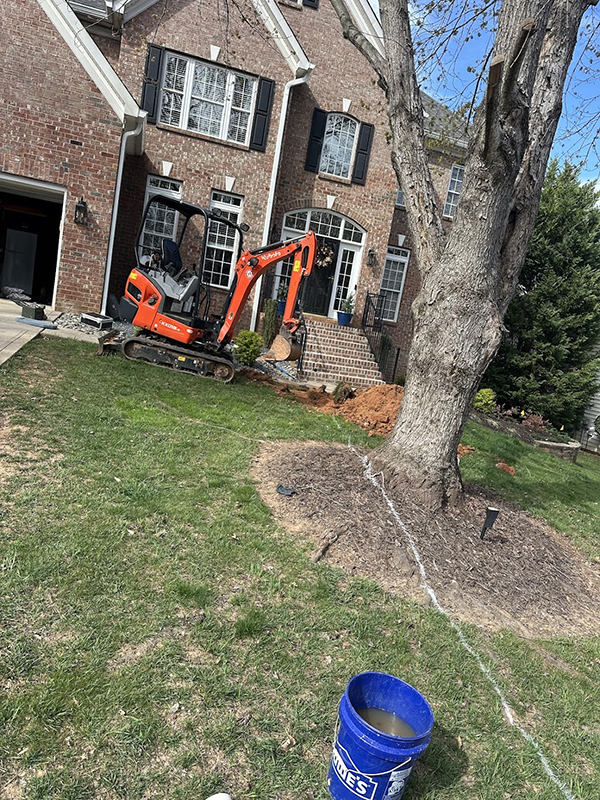
Site Conditions
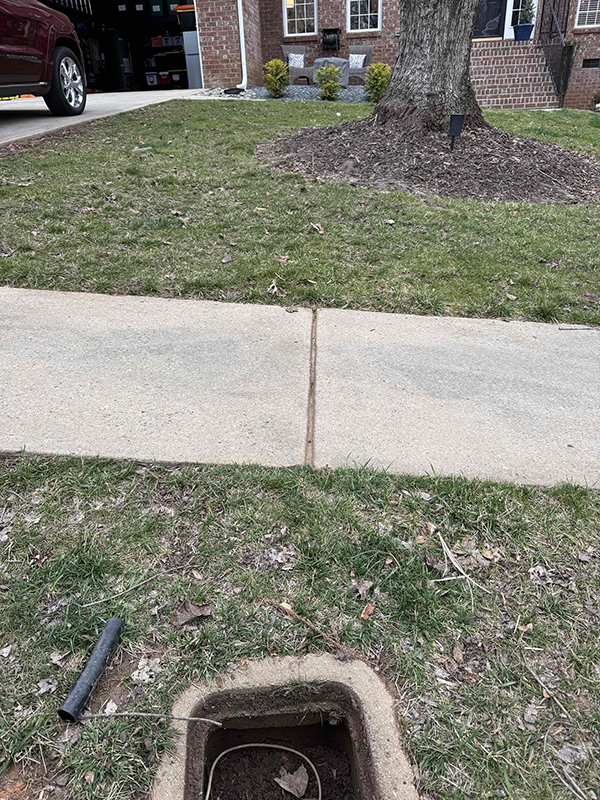
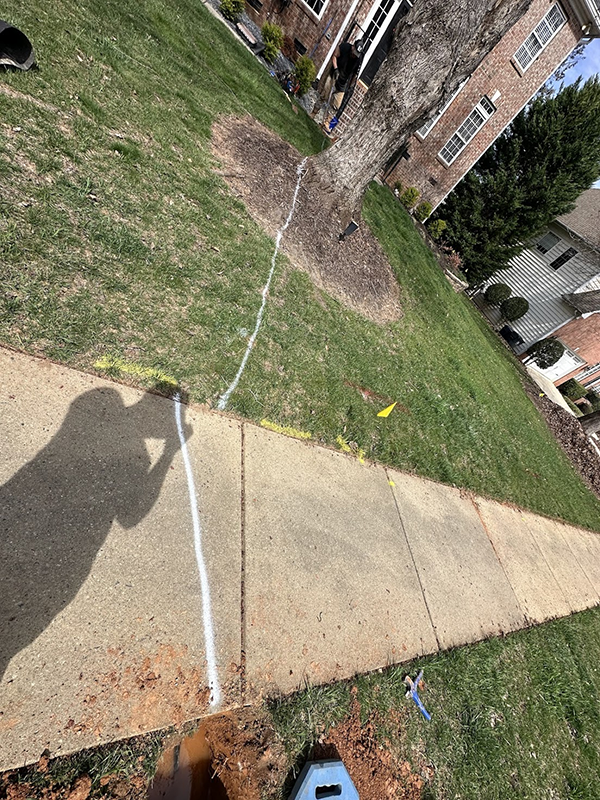
The water line route was complicated. It ran under the community walkway concrete slab, under a large tree. Then under the homeowner’s walkway. Finally through the foundation and into the crawlspace
To avoid damaging the customer’s landscaping, walkways, and the large tree, we decided to use trenchless repiping technology.
Step 1 – Call 811
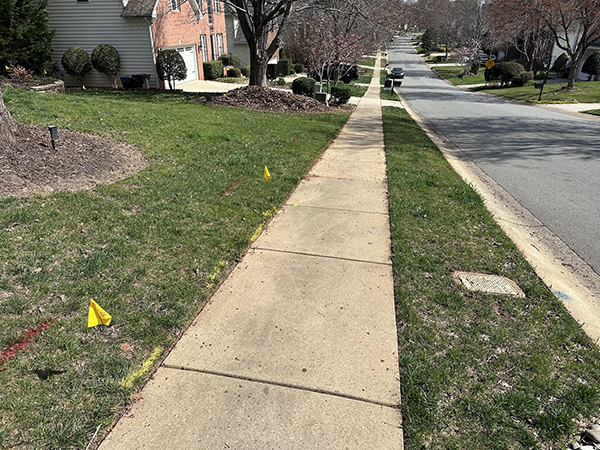
We first contacted 811 Call Before You Dig to mark underground utilities.
Two working days later, the utilities were clearly marked: gas, power, and fiber lines.
During construction we must be extremely careful.
If any of these lines are damaged, the contractor can face penalties of around $1,500 per incident.
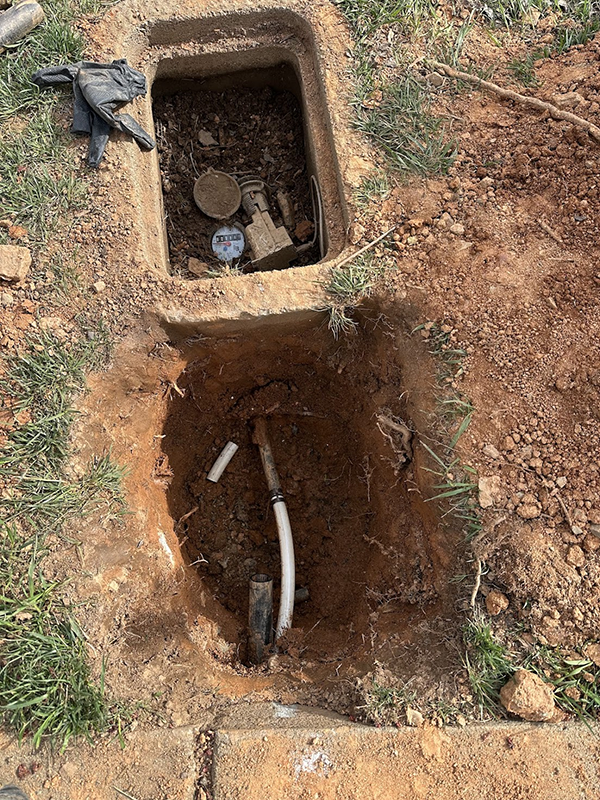
Step 2 – Locate the Existing Water Line
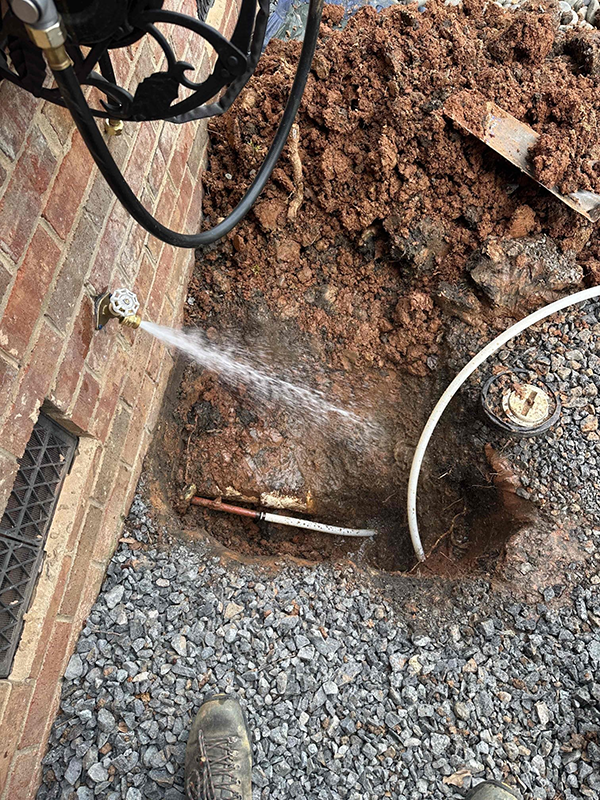
We manually dug near the water meter to expose the pipe.
After cutting into the pipe, we used a transmitter to trace and mark the path of the existing underground water line.
Step 3 – Check for Pipe Connections
Trenchless repiping works by splitting the old pipe with a cutting blade while simultaneously pulling in the new pipe.
However, if the old pipe has joints or fittings, the blade may not be able to split through them.
Near the water meter we found a 3/4-inch black pipe.
But after digging near the house corner, we discovered the pipe had changed to a 3/4-inch red pipe, which indicated there was at least one joint underground.
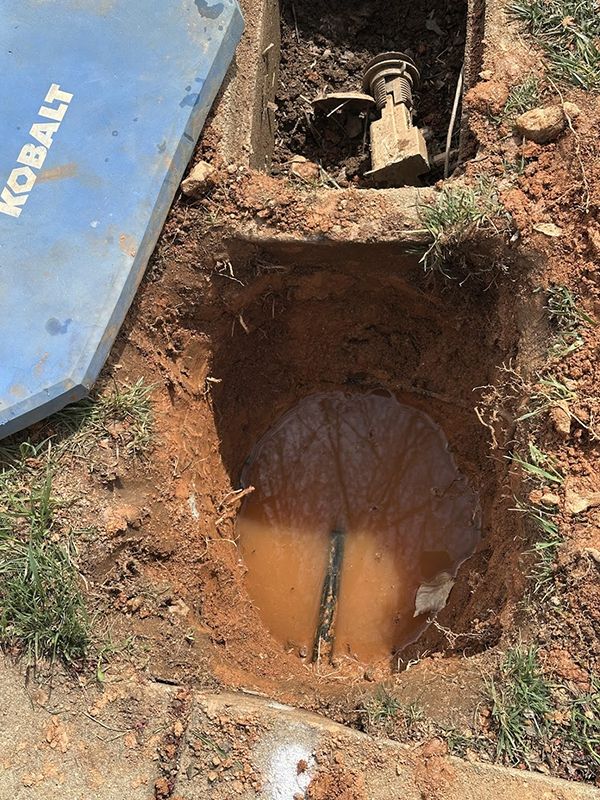
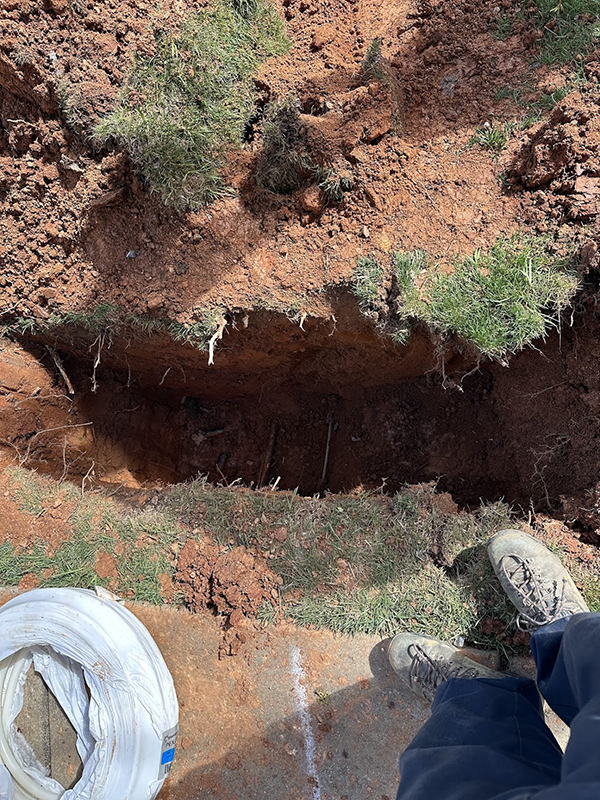
So we decided to dig another access pit next to the customer’s walkway.
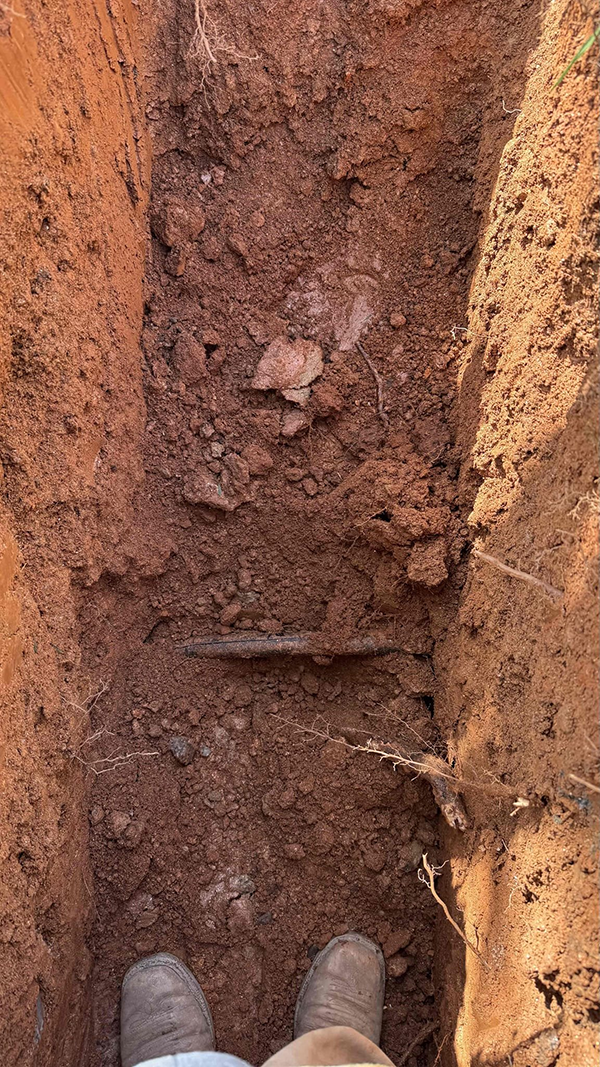
Using an excavator, we opened the pit and discovered the pipe there was 1-inch black poly.
This meant there were at least two joints underground.
Step 4 – Setting Up the Trenchless System
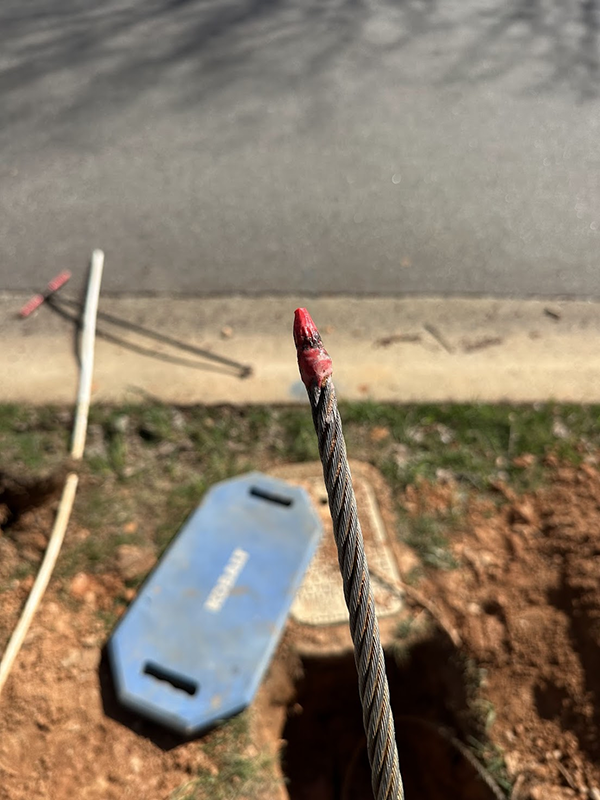
To help the steel cable pass through the pipe joints, we installed a small cone-shaped head at the front of the cable.
Once the cable passed through the existing line and the new pipe was attached, the setup was ready.
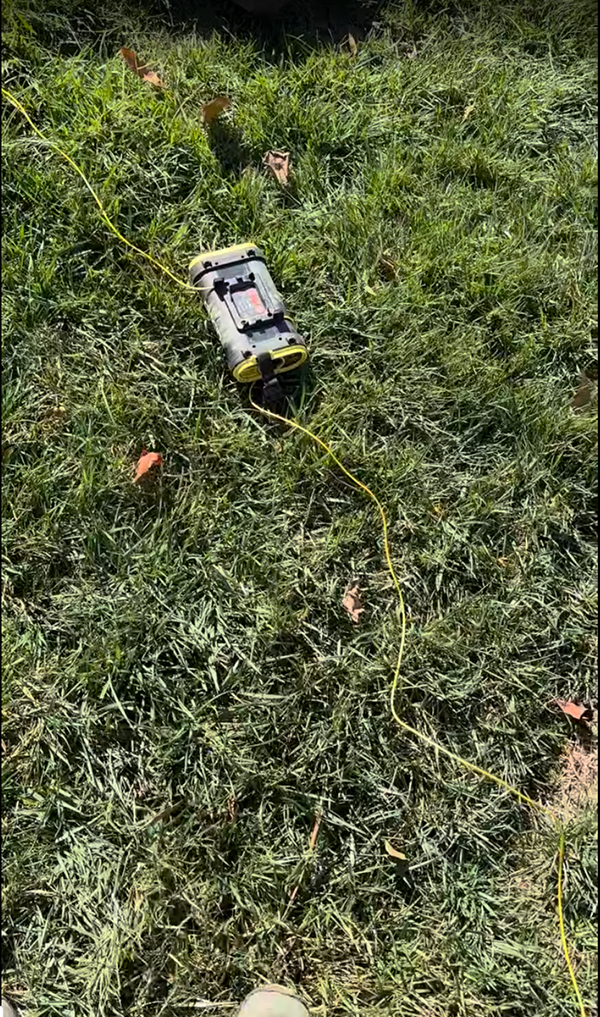
Step 5 – Pulling the Cable and Installing the New Pipe
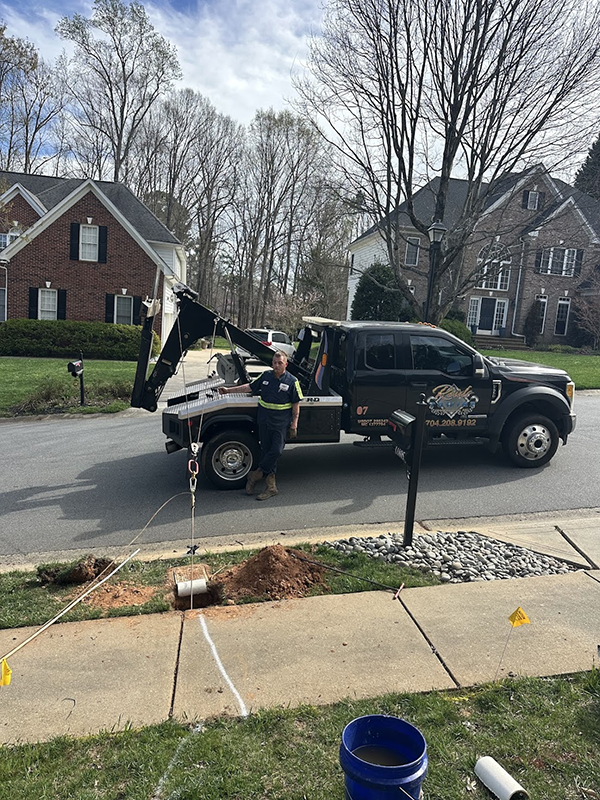
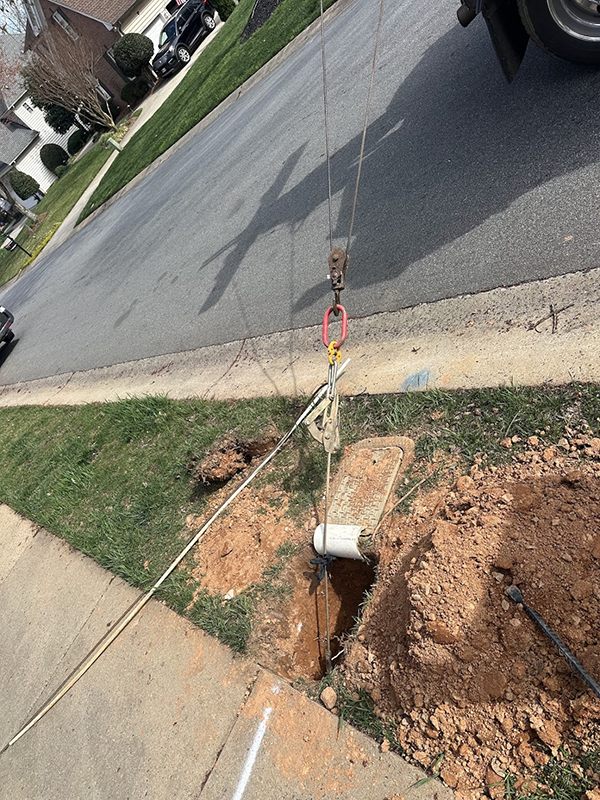
We called a towing service to help pull the cable.
To prevent the cable from rubbing against the concrete meter box, we added protective measures.
In the video, from the middle pit you can clearly see how the trenchless system splits the old pipe while pulling in the new pipe.
During the pulling process, the blade encountered significant resistance under the large tree, likely from tree roots.
Fortunately, we were still able to successfully pull the cable through and complete the new pipe installation.
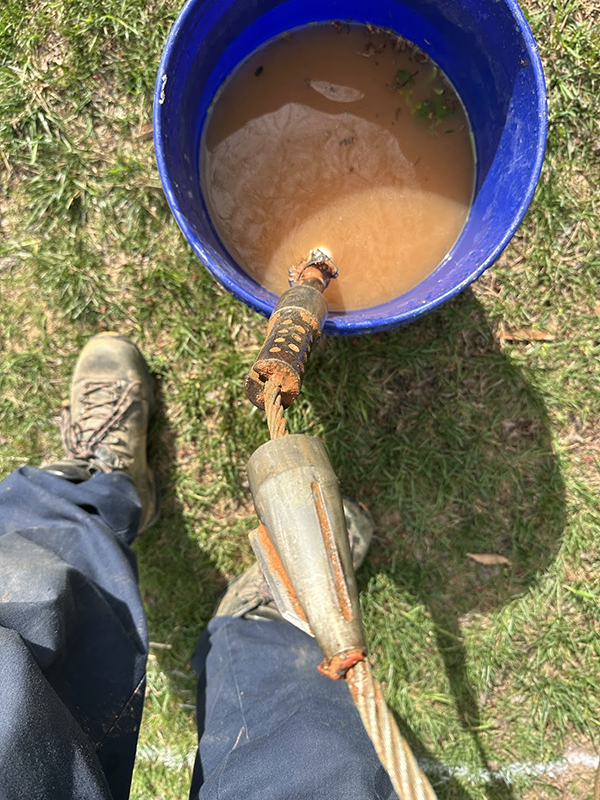
However, two of the three blades on the trenchless head were lost, which shows how tough the conditions were under the tree roots.
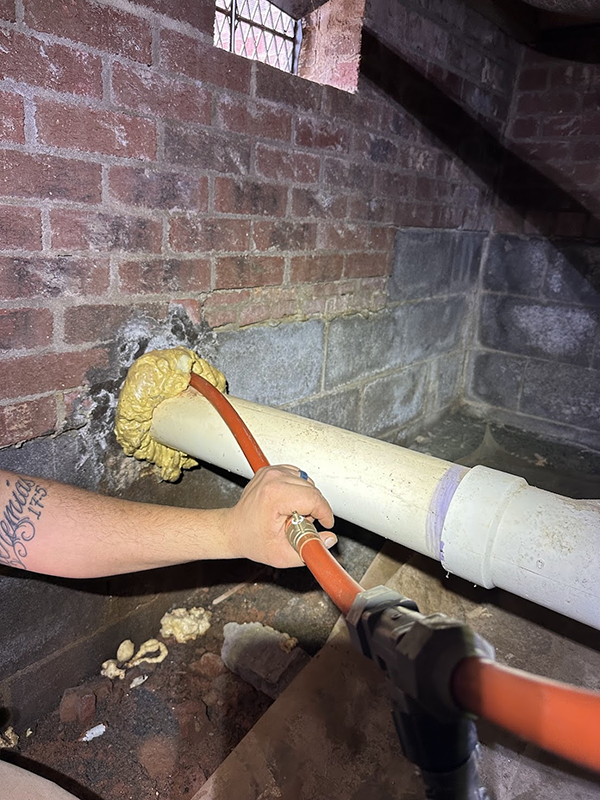
Step 6 – Reconnect the New Water Line
We reconnected the new water pipe to the system.
Step 7 – Testing
After removing air from the line and pressurizing the system, the water meter stopped moving, confirming that the new line was working properly and there were no leaks.
Step 8 – Backfill and Cleanup
Finally, we backfilled the pits and cleaned the entire work area.
The job site was left clean and organized, and the customer was very satisfied and happi with the work we did for them.