Call Now (704)448-6884
Restaurant Rough-in Plumbing
You’ve been introduced to the first stage of this project, now we have completed the second stage: drain, vent and water rough in.
Step 1:
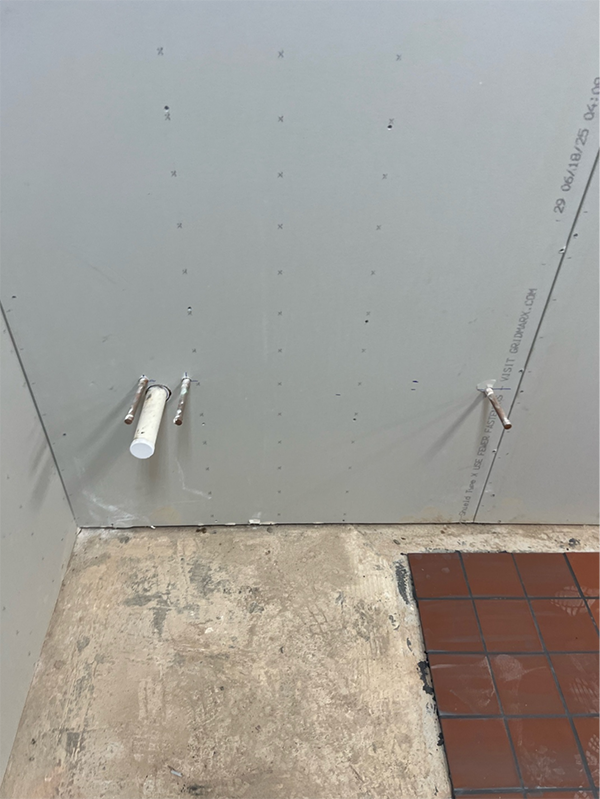
Since this is a remodel and some fixtures remain in the same place, we first identified which fixtures are staying where they are and marked out location of fixtures which will be moved. In addition, we make sure none of our pipes would interfere with the other trades and appliances.
Step 2:
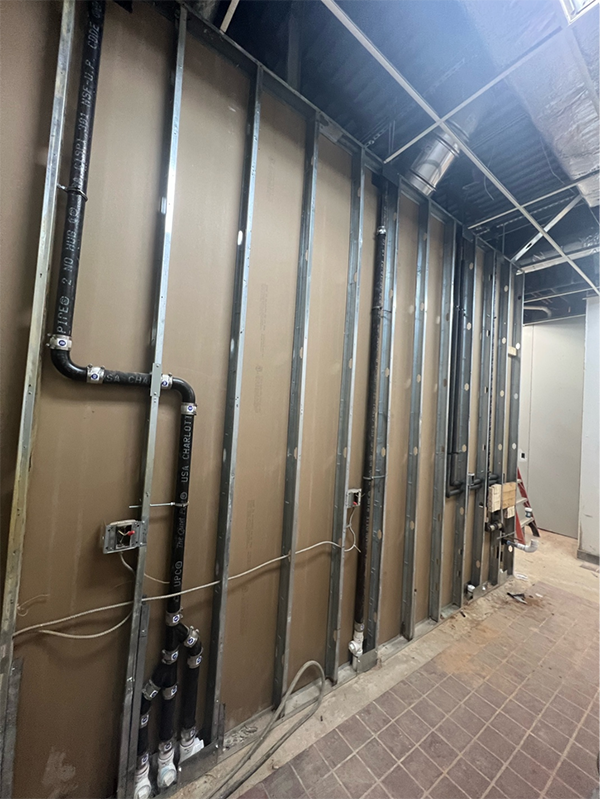
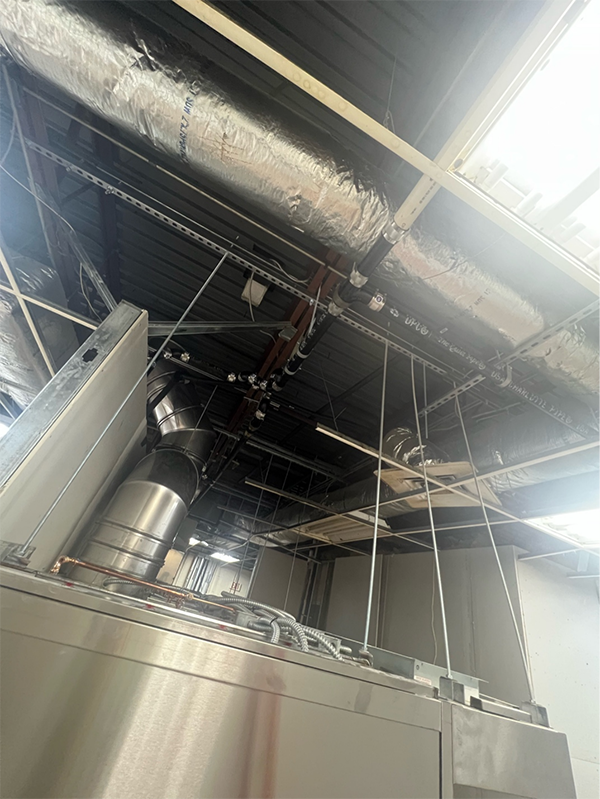
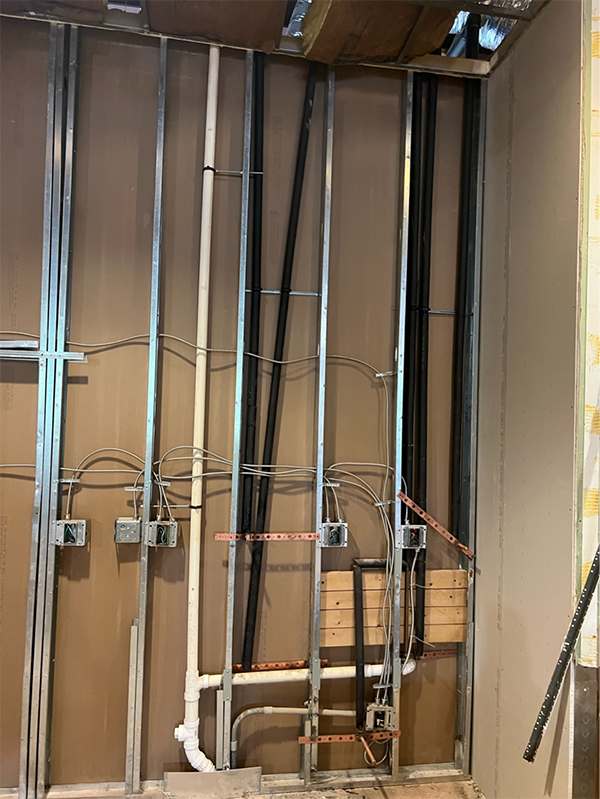
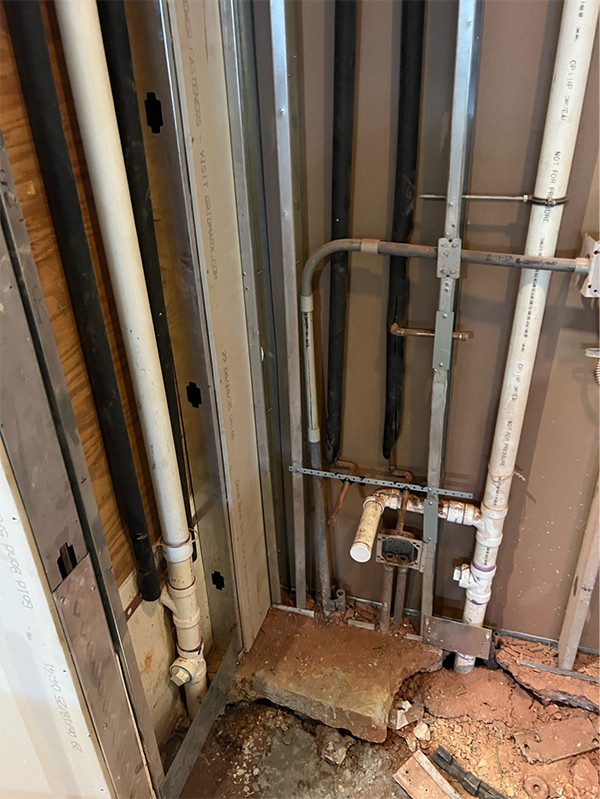
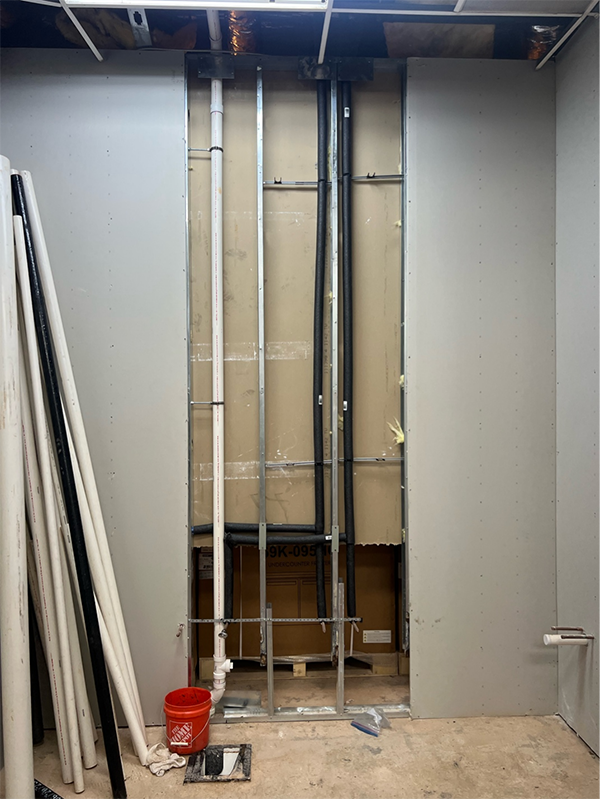
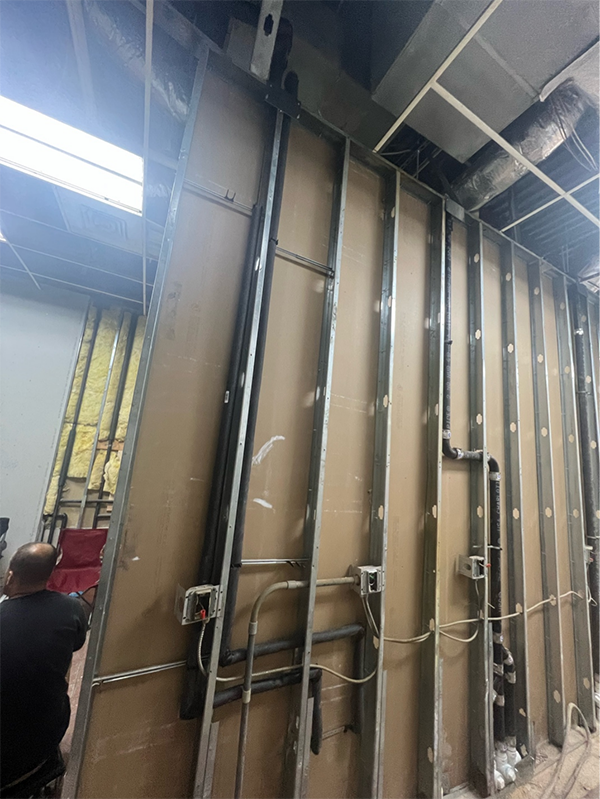
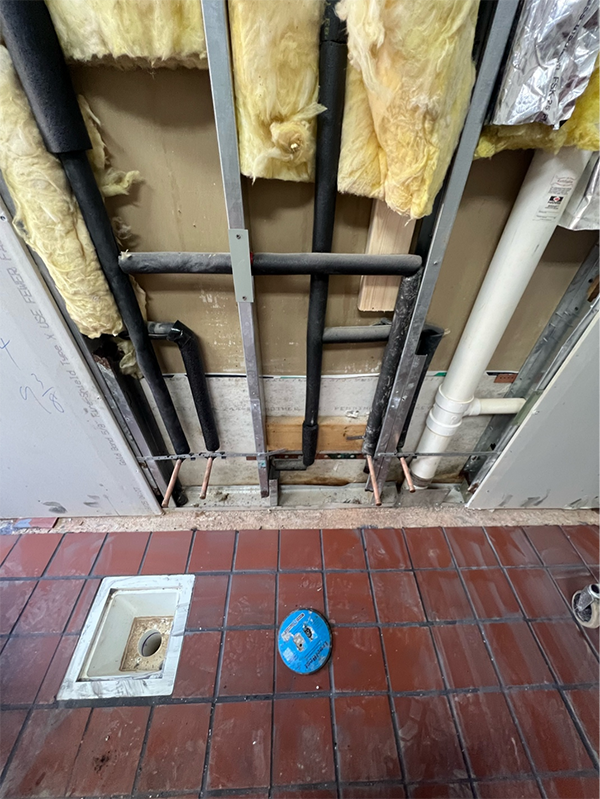
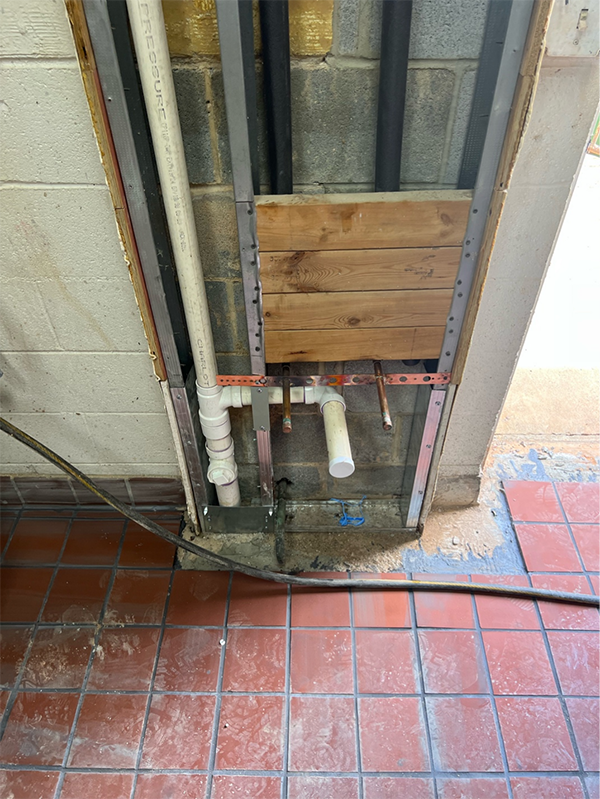
We started off work on the vents and drain behind the kitchen hood- since this is a high heat area, we installed cast iron pipes in the wall and over the hood. The other new sink connections were installed using schedule 40 pvc and the existing fixture drain connections were extended and plugged (to not let out sewer gas). Water was poured into the vents and drains in the new and existing pipes to test for leaks.

Step 3:
After confirming there is no leaks in the drain and vent system, we moved on to the water system. Plans required a new backflow preventer installed over the mop sink- we ran a new 1.5” water line from the main shutoff valve, connected the backflow preventer and ran the water line back to its original connecting point. For the new sinks we ran new water lines and for the existing water supplies, we just extended the stub-out pipe. The whole water line system was pressurized to 120psi and checked for leaks. The pressure stayed at 120psi overnight and for several more days until we released it.

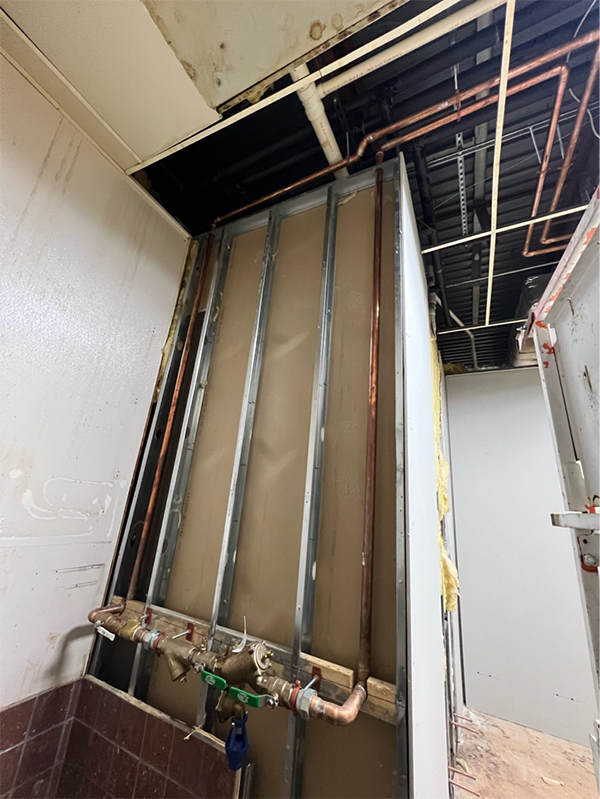
Step 4:
Before we could get an inspection, we installed nail plates and insulation and checked over our work once again and finally scheduled an inspection which passed on the first try. Once again, the inspector told us that we did an impeccable job!

